My wife made the suggestion of using a container as a workshop and at first I wasn't sure about the idea. The more I thought about it the more the idea grew on me. The only problem was that in order to have the workshop usable and stable enough for the machines it had to be insulated and heated. This meant a great deal of work would have to be done.
Buying a container
In Norway we are limited regarding the choice of container suppliers. We decided on a company as their price was OK and delivery was cheap as the container was found locally. What should have been an easy process turned out to be a complete farce. The company representative would not call back, didn't communicate regarding delivery, the delivery was late, the driver dumped the container in the yard in the wrong spot and not on the concrete blocks prepared for the container, then we were issued a bill for the container and delivery that was 20% above the agreed the price. Once we provided our correspondence as evidence of the agreed price and paid the bill, the sales guy went on sick leave and then we started getting hassled by another sales representative and needed to spend hours resolving debt collector letters for a bill we had paid.
But that's history.
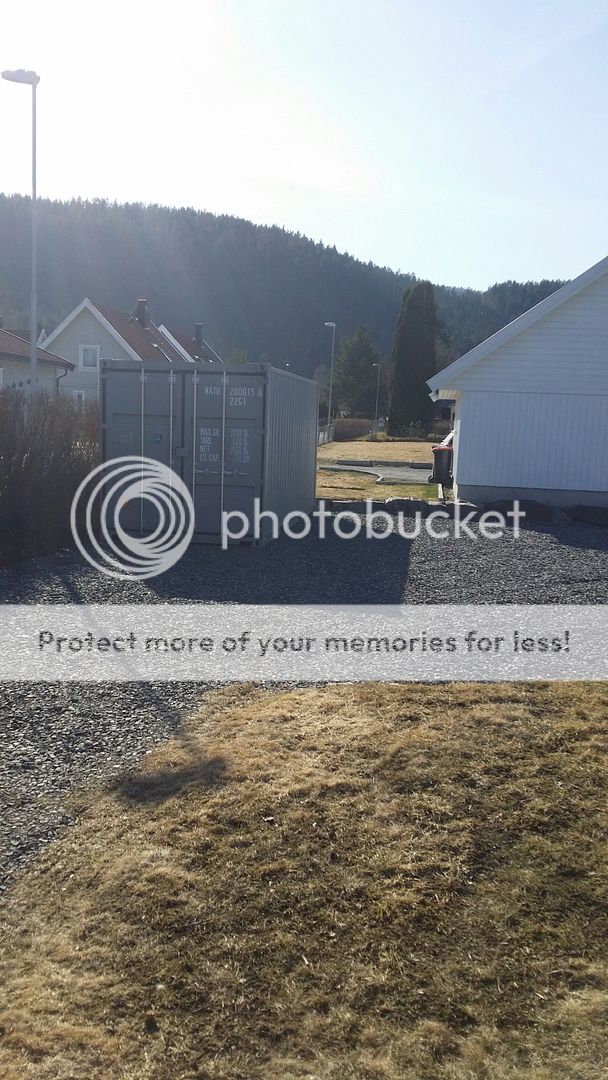
The container in the yard:
Planning
When undertaking a project like this, you really need to have a good plan regarding how you will utilize the space. If you don't spend time working through the floor plan and your storage solutions, then you will have a difficult time later. I made several plans early in the project:
Plan 1:
Plan 2:


Planning the floor space allows you to start figuring out the electrical layout, what type of materials you want to use and probably most importantly, what you need to get rid of. In such a tight space, you need to be brutally honest about what you will use and will have to purge a great deal of "rainy day" equipment and materials.
Materials for insulating a shipping container
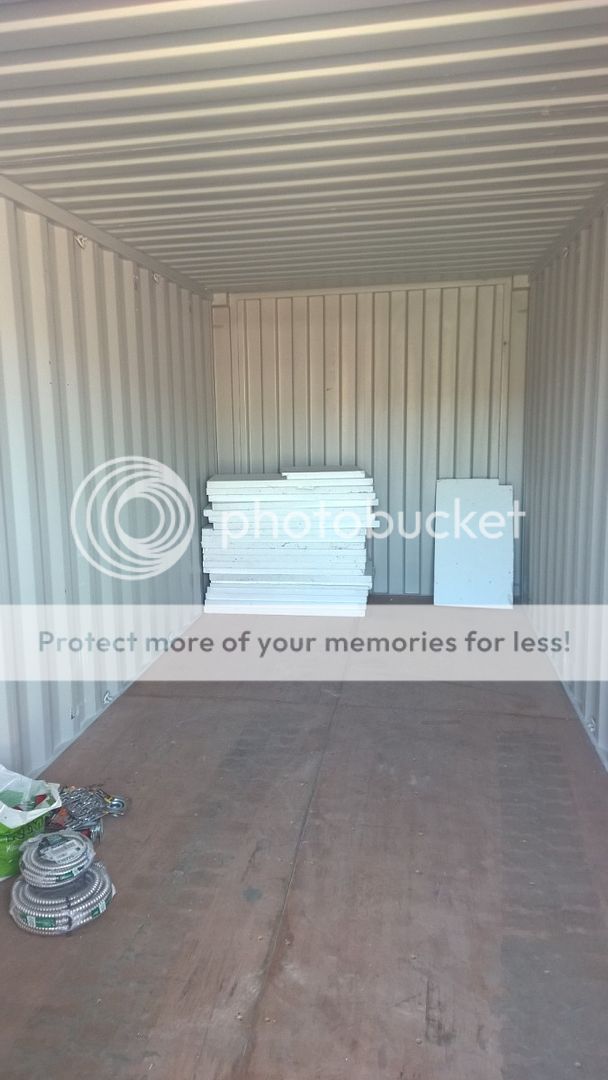
Since the floor space is so limited, I didn't have the luxury of selecting thick insulation. Instead I opted for 50mm styrofoam plates for the ceiling, and 20mm thick panels for the walls. I also opted to use 9mm thick plywood for the walls as it would allow me to fasten items to the walls.
I managed to pick up the ceiling insulation quite cheap as it was used. Fortunately, I had exactly enough for the ceiling:
The journey begins in ernest
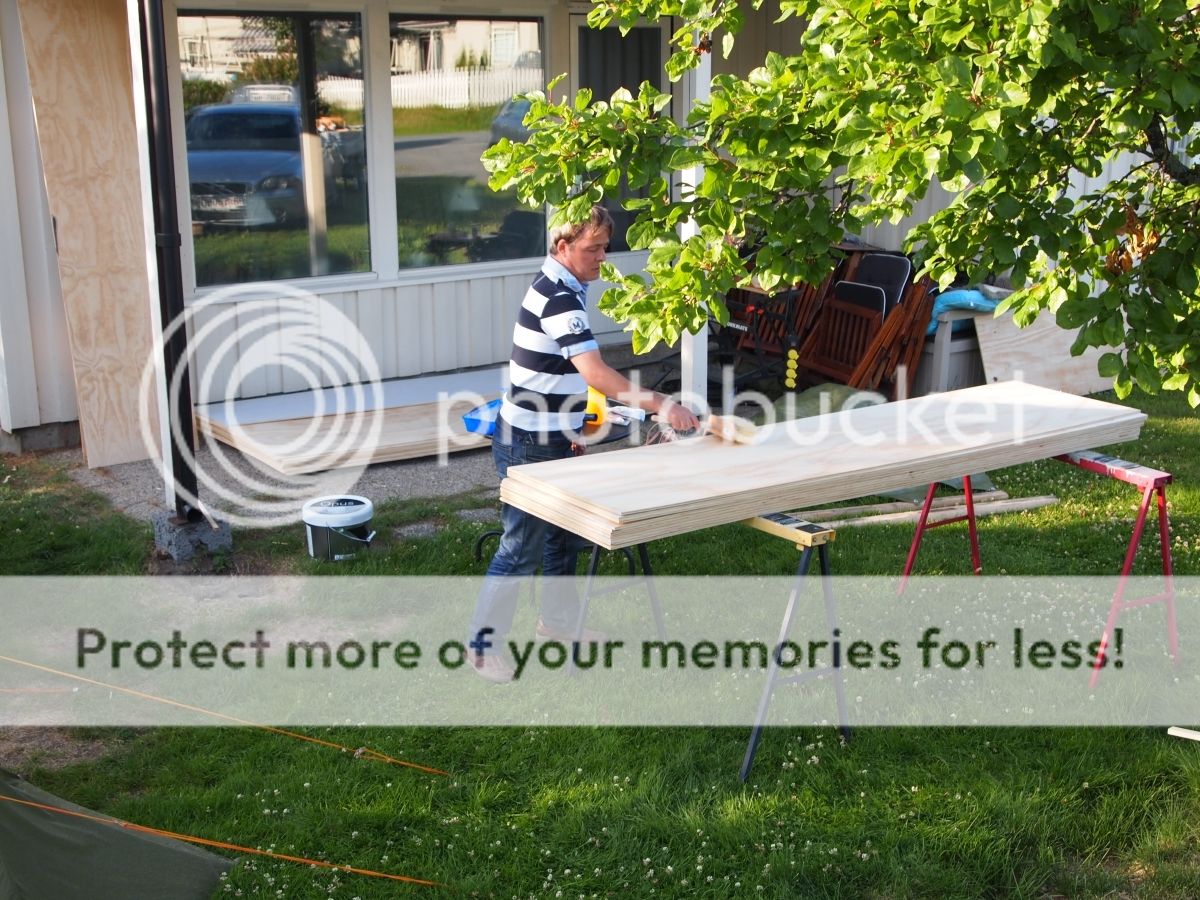
I started to pick up all the materials and get ready for the installation of the floor.

I had also decided on the installation of a rolling bridge crane since the workspace would be tight. I didn't want to try edge heavy objects past my vintage machines so when I found some H beams that were 100mm x 100mm, I jumped at them and stored them away for the time being.

For this project, glue was a critical item. In order to maintain the shipping certification of the container, no holes could be made in the container meaning that other than the floor, I was not able to screw into the container. I needed to make sure the glue was sufficiently strong so opted for a solution for the walls that would have vertical and horizontal support. This required me to rip down the studs for the walls so I needed to pick up my combination machine as the 3 hp motor would make short work of the hundreds of meters needed for the walls and the ceilings. I just needed to install the floor first as the machine is very heavy and I needed the manual pallet jack to move it about...
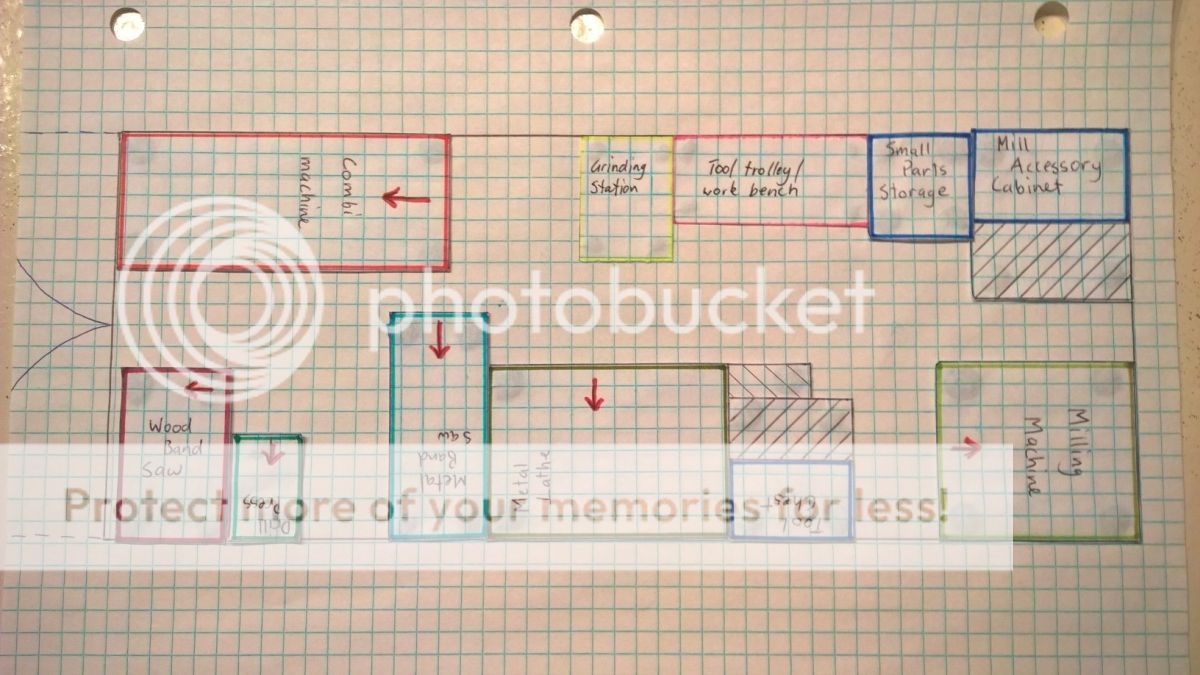
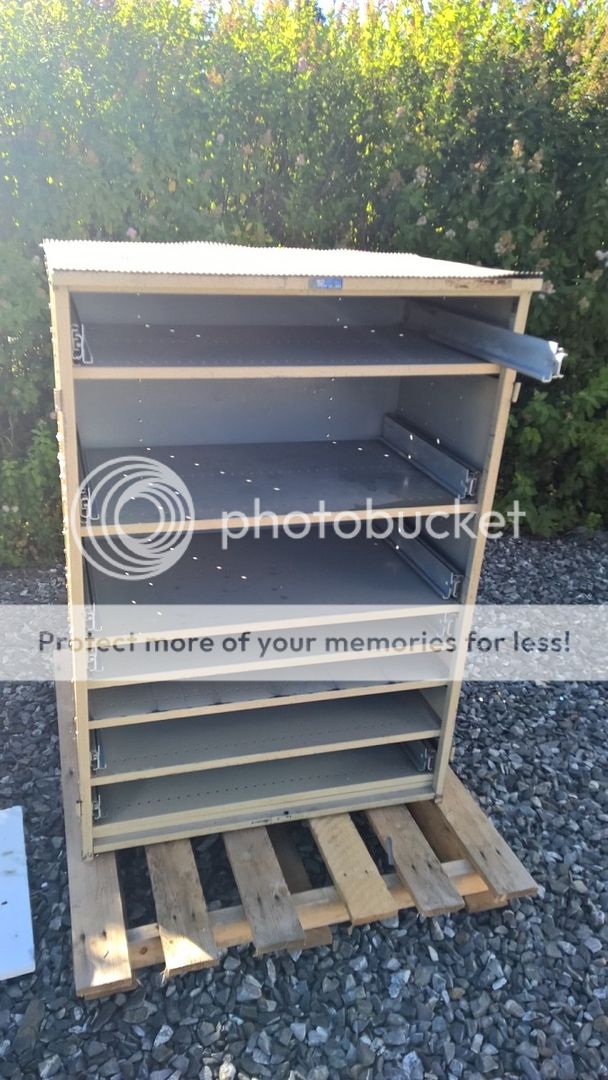
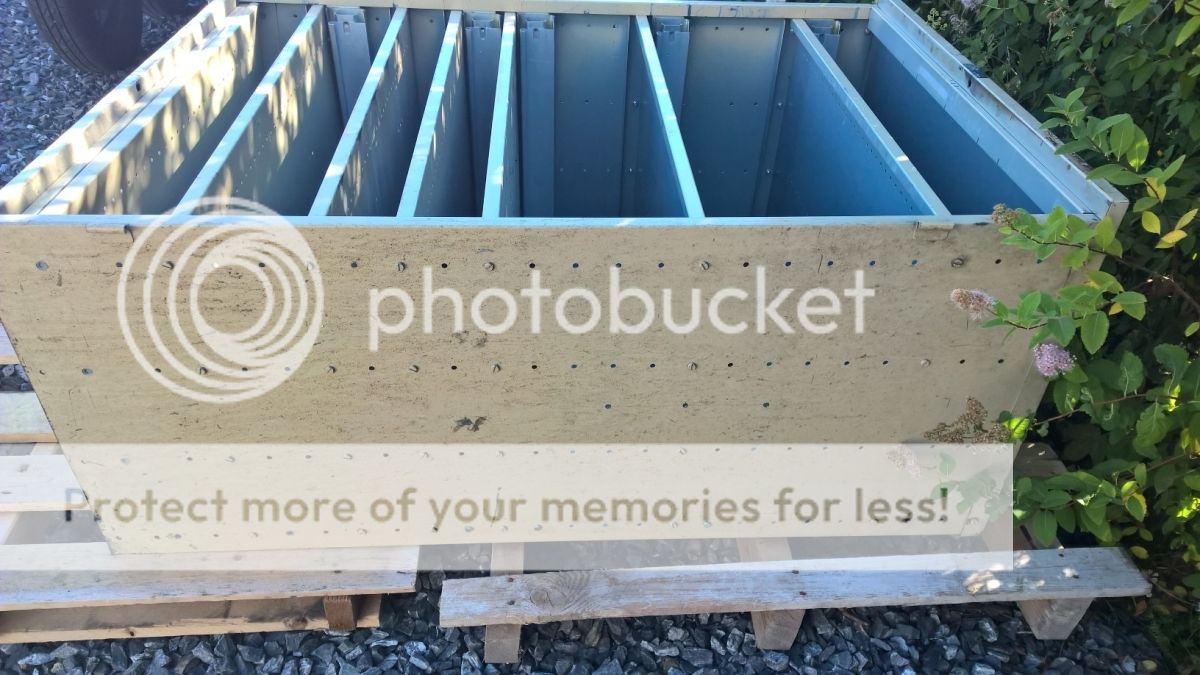
While I was working on the floor solution, I came across some Lister metal cabinets from the old SAS service department here in Norway. I bought them for a good price so in the downtime when I couldn't work on the container, I worked on repainting and straightening out the cabinets as they would be a huge space saver in the workshop. My final floor plan was then made based on the purchase of these cabinets and a work trolley that would be my new work desk:

I was trying to complete this project on quite a tight budget so these cabinets and trolley were purchased at a very reduced price. They allowed me to increase my storage capacity significantly so I thought they were worth the investment. Inbetween planning and fetching materials, I worked on freshening up the cabinets:


After the slight detour and distraction with the cabinets, I installed the floor and started on the walls.
My yard was really looking like a construction zone at this point.

I had chosen to glue in the walls studs, then glue on wooden skirting boards. I wanted to have access to the tie-downs so I made sure to leave them exposed. When I glued the styrofoam onto the walls, I temporarily removed some cut-outs as I didn't have the correct sized holes saw:

At this point I realized that pre-painting would be wise so I selected my colour scheme and bought the paint I needed. I opted for loight grey for the walls and for the same colour blue as the cabinet drawers for the horizontal wooden supports.

The container is not a precision item
It may suprise you but containers are not built to the finest tolerances. If you choose to undertake this kind of project, make sure you have access to an electric planer. This will help you get the walls somewhat straight. I spent some time prepainting the wall panels and the horizontal supports as it didn't matter if I got blue paint onto the styrofoam insulation as it would be covered by the ply panels:

At this point I had also picked up my larger hole saw and was able to cut out the tie-downs to allow better access:

I was very fortunate as I had the help of some very good friends with the painting, sheeting the walls and general installation. They also helped me with the floor and without this father and son team, I would not have been able to complete this project:
The ceiling and crane rails
I got to a point where I was not able to go further with insulating the walls or ceiling as I needed to install the crane rails. For this I needed to cut the H beams and weld them, attach brackets and then weld the completed rails to the corner members of the container. I needed my metal bandsaw for this so I had to drive back to my old garage and pick it up. My neighbour Kato was nice enough to lend me some 3 phase power for the saw and in no time we had the materials cut and container ready with the attachment points ground and ready for welding:

My landlord who is a welder by trade came and did the welding for me one afternoon and with Kato, Oreste, Nathan, Frank (my landlord) and I, we installed the rails:


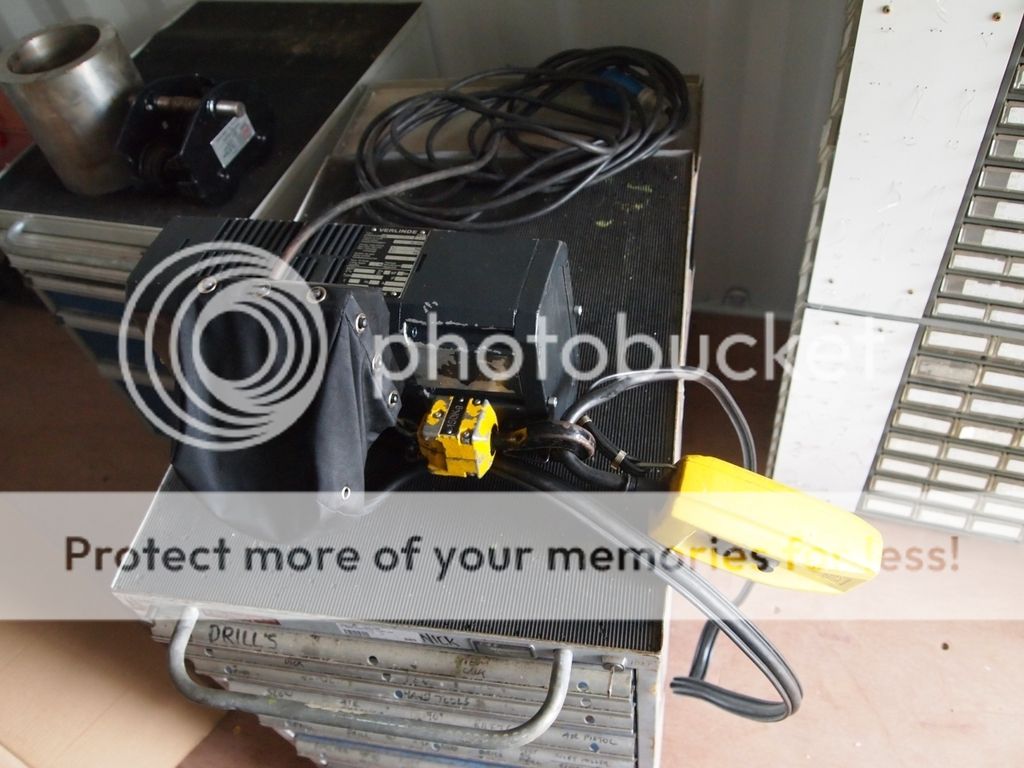
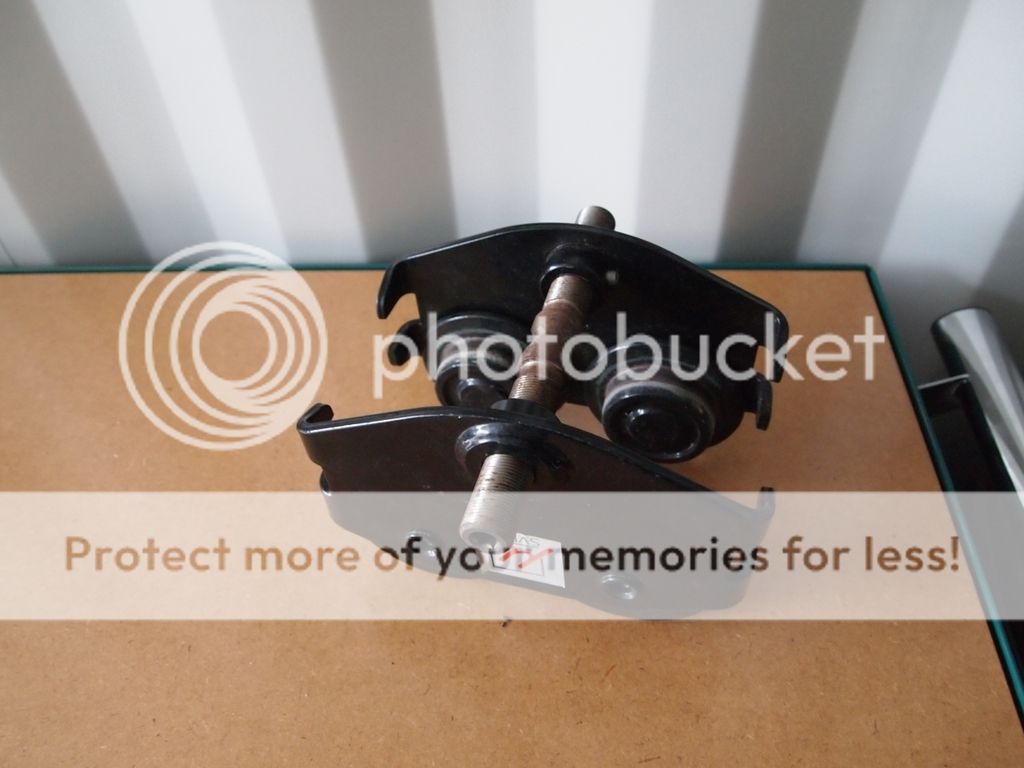
The crane will only be lifting 150kg so this setup is plenty strong enough to support it. I had also purchased an electric chain winch and trolley for a really good price early in the project so I was pretty keen to see this come together:
Let there be light!
With the rails up, I was able to finish sheeting up the walls and the roof, and was able to install some basic power. I had to drill some ventilation holes to allow the air to circulate and I also painted the rails with zink primer.


Unlimited power!!!!
At this point in the project I made the decision to install a rotary phase converter. I needed 3 phase and despite Kato being the nicest guy in the world and wanting to help me, I wanted to have my own power on and would eventually have to do this anyway. My friend Bjorn made a rotary phase converter with a 4 kW motor and we organized a trade. I needed to build a cabinet and house it properly.
While I waited for Bjorn to bring the RPC to work, I installed the rest of the power points and cabling with my friend Pete. He is an electrician by trade and a perfectionist so we speak the same language. I think his work speaks for itself:


At this point Bjorn showed up with the goods so I got to making the cabinet.


I will be prettying up the cabinet a little more but for the time being it is sound proofed and has vent holes to prevent overheating. I need to revise the cooling solution as it runs a little hot when on for extended periods but I am pretty sure I have a simple solution to the problem.
It's the small things...
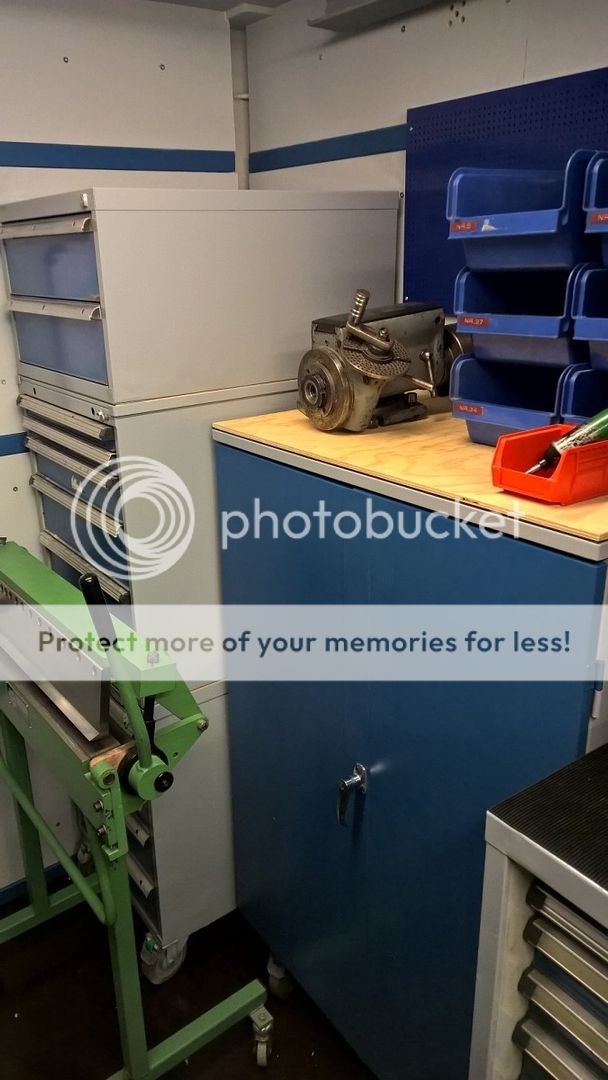
With the RPC installed and working, I wanted to start organizing the rest of the container. I put up my main tool board and began positioning the cabinets and tool trolley in their final position. I had also been working on cleaning up my small parts storage as I had to remove the sticky labels and there were about 400 to remove.


I installed the laptop bracket and had a laptop donated by a colleague at work. I still needed to cut some bench tops and drawer inserts from the excess plywood I had laying around.
I installed a white board to allow me to make sketches and do basic design work in the workshop.

I also got around to repairing the emergency stop on the drill press which had been missing since I bought it a couple of years ago.

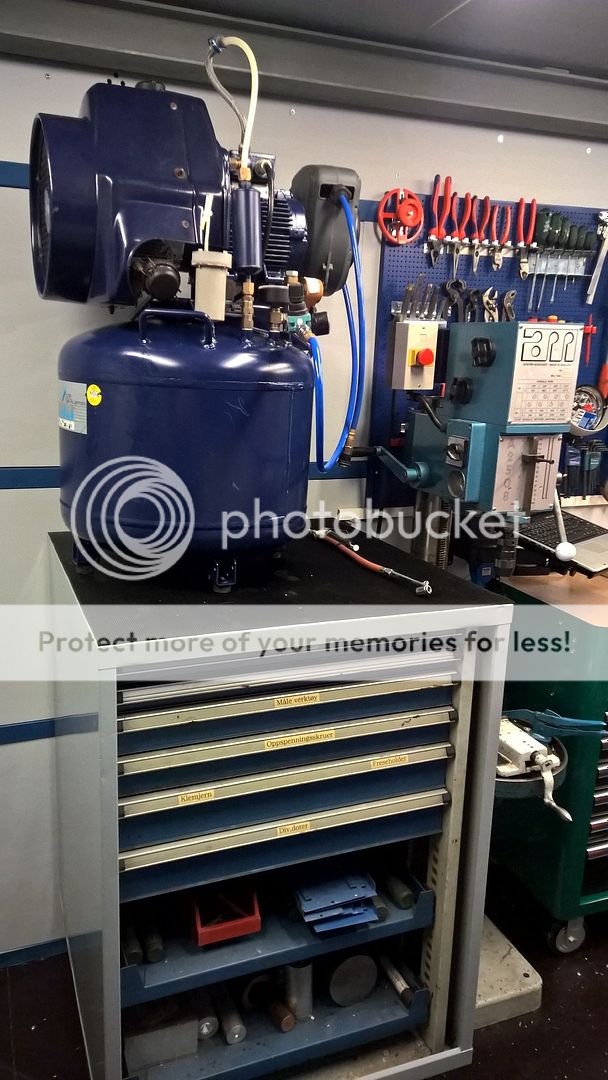
In such a confined space, noise can be a real problem. I have a really nice compressor (an Italian SIP) however it is a single cylinder unit and makes an awful racket when running. I happened to find a nice dental compressor for a very reasonable price and picked it up. It needed some TLC and a couple items made but once I had cleaned her up and added some new bits, I was able to install it and have shop air available.
Dealing with the big items
Now that I was nearing completion of the biggest things in the workshop, I needed to start moving some of my bigger items in. I had a milling machine cabinet that weighed a ton and was in pretty sad shape. I needed to have this straightened out and painted before setting it in place. I also needed to mount it on wheels. I picked it up on a Monday afternoon and the following Tuesday was such good weather, I cashed in some flextime in order to get it painted and installed.
The bottom of the cabinet had a frown caused by someone lifting it with a forklift while fully loaded. I needed to disassemble it, straighten it out and remove the dents and contact cement used to adhere the rubber matt to the top of the container.

This literally took the whole day. 2 coats of paint later and this was the result:

The doors now closed properly and it was far more stable than before. I also cut new drawer inserts from the 9mm plywood left over from the walls as the originals were 24 mm thick and used up far too much drawer space.
While I was working on the cabinet, I kept thinking about all the brackets I needed to make and how I would go about getting them bent to shape. I regularly check the Norwegian version of Craigslist and came across an ad for a finger brake. It looked a little rough but it was Danish made and the price was right:


It would handle up to 18 guage metal and was small enough to be able to fit into the workshop so I picked it up and gave her a bit of a clean. It turned out to be in far better shape than I expected and the majority of the marks were where some grub had stubbed out his cigarettes on the machine. A cotton cloth and some Jif later and this little beauty was looking good. These sheet benders are VERY expensive to buy normally and had it not looked sad, It would have sold for far more than I paid for it.

With the finger brake I could make supports for the cabinet which allowed me to remove stretched metal and then brace it up with specially made brackets. This made the cabinet far stronger and more stable.
I had arranged to pick up my lathe, mill and bandsaw with my friend Bjorn on the weekend. He would bring a trailer, straps, a chain hoist and a wooden frame so we could lift the lathe onto a pallet, and I would bring the high lift pallet jack and another trailer.


I had arranged with Frank to have a tractor waiting for us, so when we arrived he rang Per and we began unloading and getting things into the workshop.

We took it slow and steady and supported the machines by hand as the tractor moved them off the trailers and into the container at a snail's pace. Both Frank and Per didn't think everything would fit but we got everything in with centermeters to spare!
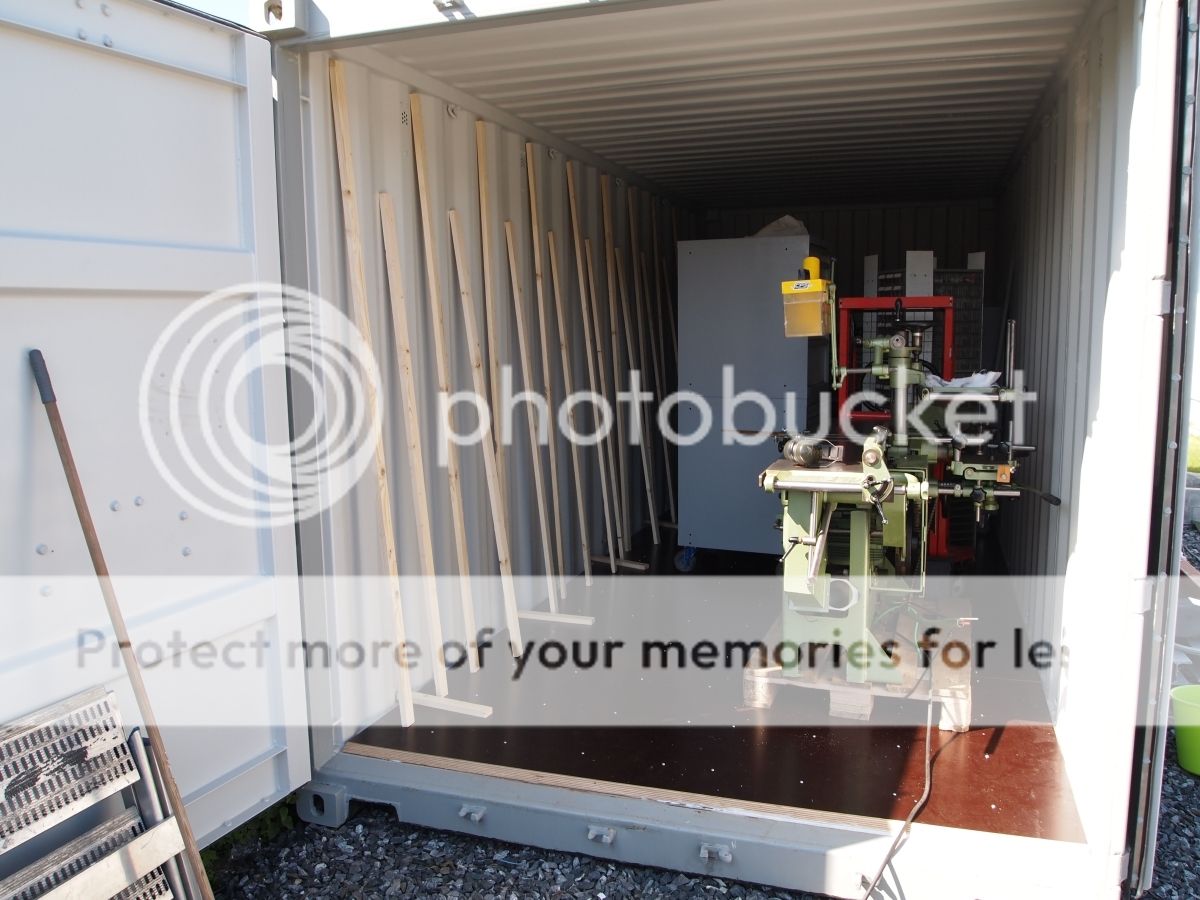
The final result (nearly)


So as you can see, I am nearly done. I still have to make the crane, move the lathe off the pallet and get some shelves and accessories mounted on the walls. I also need to make some rolling bases for the bandsaw and combination machine, and make a deck on which I can roll the woodworking machines onto. I will continue to chip away at this and slowly organize the drawers and cabinets so that I can start to find items again.
This has been a project that has taken 5 weeks so far. If the weather holds out I expect that I will be done completely in about 4 more weeks since I am now off the summer break and need to squeeze everything into afternoons and weekends.
I hope you enjoyed this journey and stay tuned for more updates.